
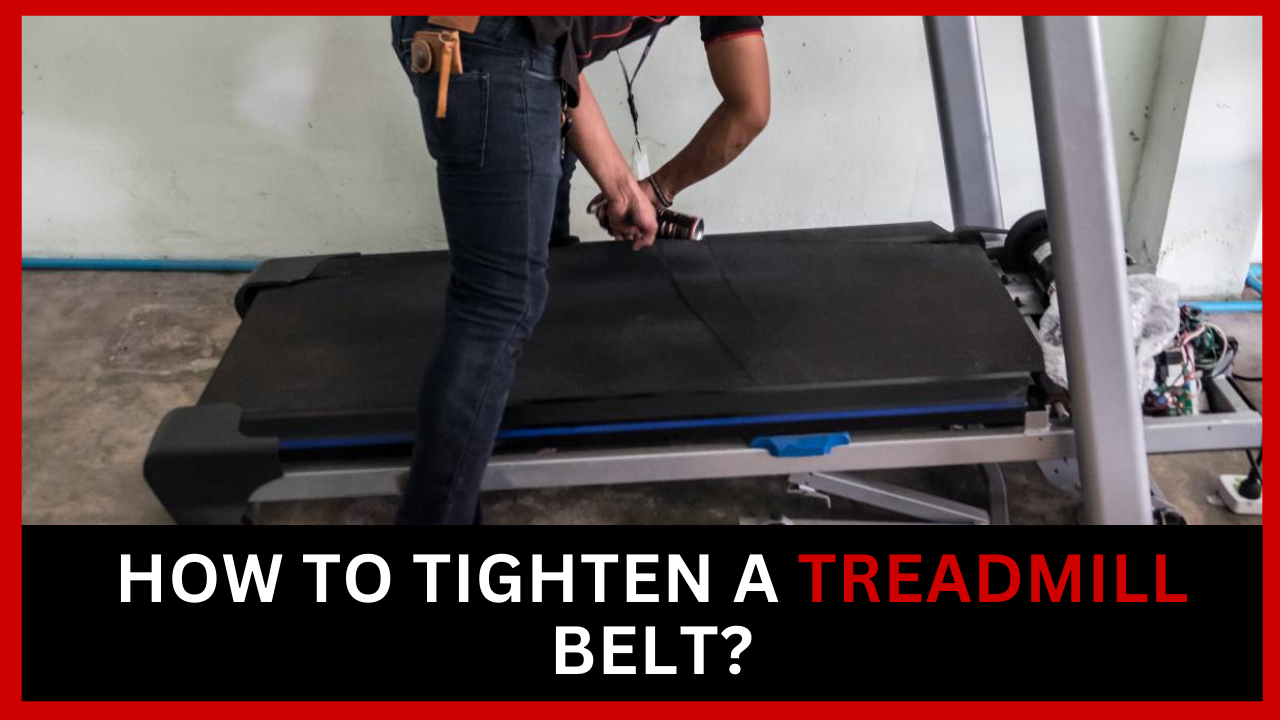
Treadmills are a convenient and effective way to stay fit, but over time, they can require maintenance to ensure they run smoothly. One of the most common issues with treadmills is a loose belt, which can affect performance and safety. Knowing how to tighten a treadmill belt is essential for keeping the machine in top condition. This guide will walk you through the steps of tightening a treadmill belt, explain why it’s important, and provide some helpful tips to ensure your treadmill operates effectively for years to come.
Why Tightening a Treadmill Belt is Important?
Over time, regular use of a treadmill causes the belt to stretch, leading to issues like slipping, reduced efficiency, or uneven running surfaces. A loose belt can also place extra strain on the motor, potentially leading to costly repairs. Tightening the belt ensures smooth operation, improves safety, and extends the lifespan of the treadmill.
If you notice the belt slipping or making unusual noises, it’s a good sign that it needs to be tightened. Regular maintenance will help avoid further damage and ensure a better workout experience.
Ways to Know How To Tighten A Treadmill Belt

Now, let’s go step by step through the process of tightening a treadmill belt. You don’t need any specialized tools, just a few minutes and some attention to detail.
1. Turn Off and Unplug the Treadmill
Before starting any maintenance work on a treadmill, it’s crucial to unplug the machine from the power source. This ensures your safety and prevents any accidental operation while you work on it.
2. Locate the Adjustment Bolts
Most treadmills have adjustment bolts located at the rear end of the treadmill. These bolts control the tension of the belt. Depending on the treadmill model, these bolts might be hex bolts or screws, so you may need an Allen wrench or screwdriver to adjust them.
3. Tighten the Bolts Gradually
Turn the adjustment bolts clockwise to tighten the belt. It’s essential to adjust the bolts equally on both sides to maintain an even belt tension. Tighten the bolts by half-turn increments to avoid over-tightening, which can damage the belt.
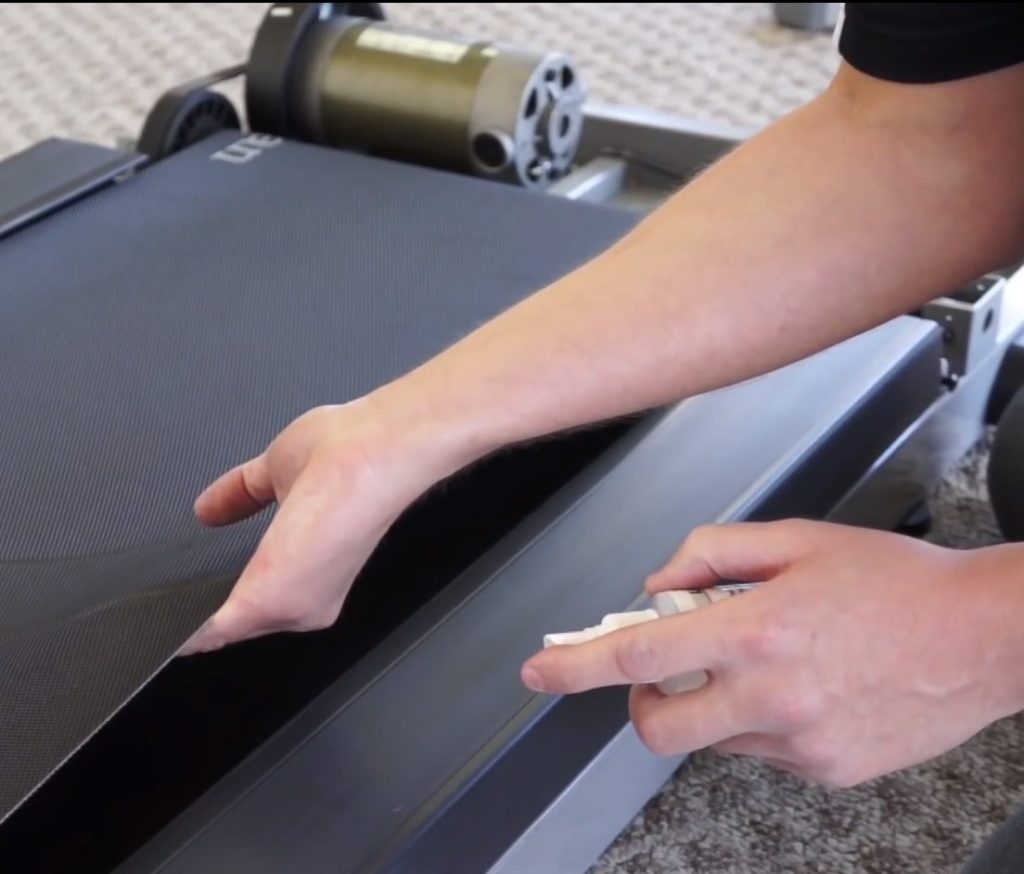
A good rule of thumb is to tighten the belt just enough so that you can slide two fingers underneath it without much resistance. This ensures that the belt is properly tensioned for optimal performance.
4. Test the Belt Tension
After tightening the bolts, turn the treadmill back on and test the belt by walking or running on it at a slow pace. If the belt feels smooth and stays centered, then the tension is correct. However, if the belt still feels loose or begins to slip, you may need to repeat the process by adjusting the bolts slightly more.
5. Center the Belt
If the belt has shifted to one side during the adjustment process, you’ll need to center it. To do this, tighten the adjustment bolt on the side where the belt has drifted. This will pull the belt back into alignment. After each small adjustment, check the belt by running the treadmill for a few minutes.
How Often Should You Tighten the Treadmill Belt?
Treadmill belts naturally loosen over time, especially with regular use. Ideally, you should check the belt tension every two to three months. A quick visual inspection or gentle tug on the belt should help you determine whether it needs tightening.
If the treadmill is used heavily, especially in commercial settings like gyms, you may need to adjust the belt more frequently.
Signs Your Treadmill Belt Needs Tightening
- Slipping Belt: The most common indicator is a belt that slips while you’re running or walking. It’s a sign that the belt has loosened and needs to be adjusted.
- Unusual Noises: A loose belt often produces unusual noises, such as squeaking or grinding.
- Difficulty Running Smoothly: If you’re having trouble maintaining balance or smooth strides on the treadmill, it could be due to a loose belt.
- Visible Gaps: You should not be able to lift the belt more than a few inches. If you can lift it too high, it needs tightening.
Common Mistakes to Avoid When Tightening a Treadmill Belt
- Over-Tightening: Tightening the belt too much can cause excessive wear and tear, leading to damage. Always adjust gradually and test after each small increment.
- Ignoring Alignment: If the belt isn’t centered properly, it can cause uneven wear on the treadmill. Always ensure the belt is aligned after tightening.
- Not Turning Off the Power: For safety reasons, always unplug the treadmill before making any adjustments.
Additional Maintenance Tips for Your Treadmill
- Lubricate the Belt: In addition to tightening, lubricating the belt is important to reduce friction and ensure smooth operation. Check your treadmill’s manual for recommendations on how often to lubricate the belt.
- Keep the Treadmill Clean: Dust and debris can affect the treadmill’s performance, so make sure to clean the surface and underneath the belt regularly.
- Check for Wear: If you notice excessive wear on the belt, such as fraying or cracking, it might be time to replace it.
Conclusion
Tightening your treadmill belt is a crucial part of maintaining your equipment and ensuring it operates smoothly. By following the simple steps outlined in this guide, you can keep your treadmill in top shape and extend its lifespan.
Regularly checking the belt for signs of wear or loosening will prevent bigger problems down the road and help you get the most out of your treadmill workouts. If you have any doubts or concerns, consult your treadmill’s manual or reach out to a professional for assistance.


